本文转载自: FPGA打工人微信公众号
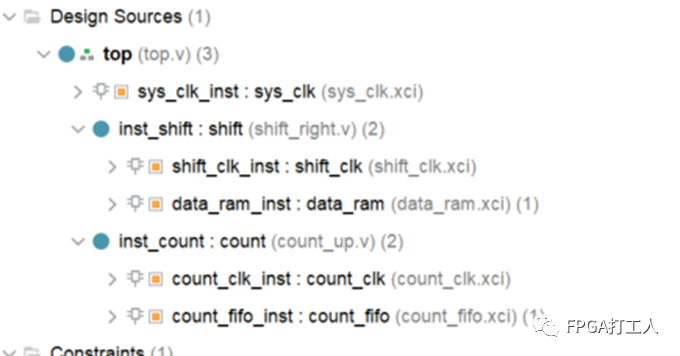
这篇主要介绍一哈我自己做的一个Demo实验Flow,文末有project的获取方式。为了能让实验涉及到的内容尽可能多,本实验用到了CLK、BRAM、FIFO相关的IP。
具体主要分为三个部分:DFX的基本流程、AS的环境搭建、AS的具体执行。
DFX的基本流程
步骤1:首先打开工程,使能PR模式,具体选择Tools->Enable Dynamic Function eXchange

出现下面的对话框,点击Convert。该对话框是指如果使能了PR模式,是不能返回到普通模式的。

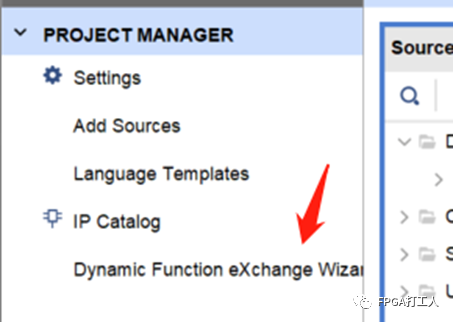
此时在Flow Navigator的PROJECT MANAGER下面就会出现Dynamic Function eXchange Wizard的选项。
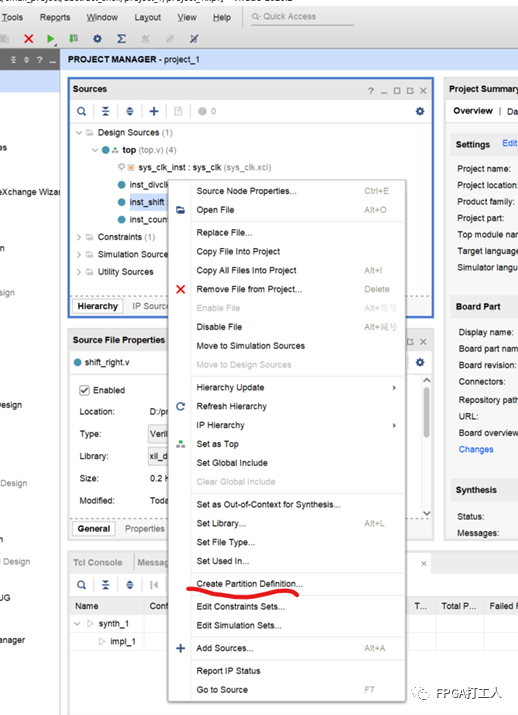
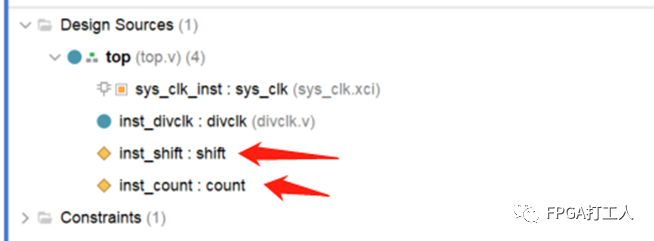
步骤2:右键要reconfiguration的模块,并选择create partition Definition
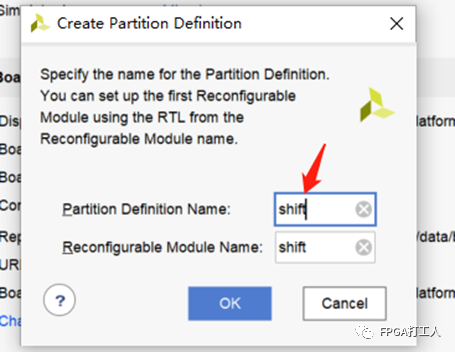
此时,弹出对话框提示输入创建Partition的名字,点击OK
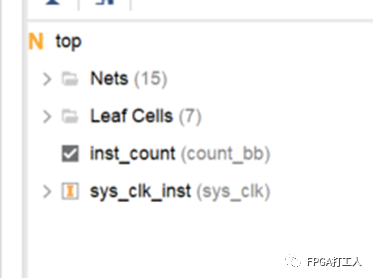
这时可以看到该模块的图标发生了变化,变成了黄色的菱形,如下图所示:
注意:通常需要进行PR的模块都是比较复杂的模块,里面可能会包含IP Core,那样就不能直接这样操作,因为一般IP的综合方式都选择的是OOC综合。
此处要更改IP的综合方式:
点击需要更新的IP,右键选择Generate Output Products
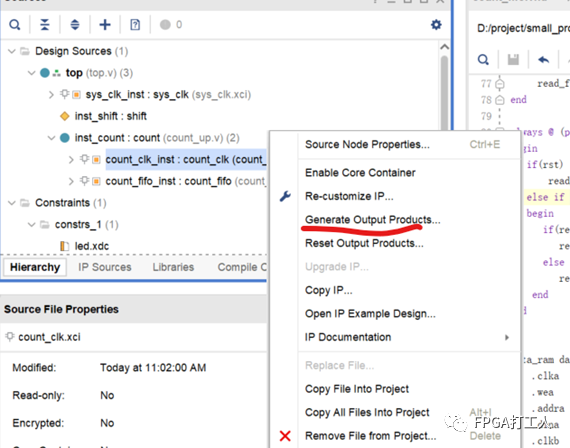
选择Global,之后点击Genetate即可。

步骤3:选择左侧导航栏的Dynamic Function eXchange Wizard,开始添加PM。
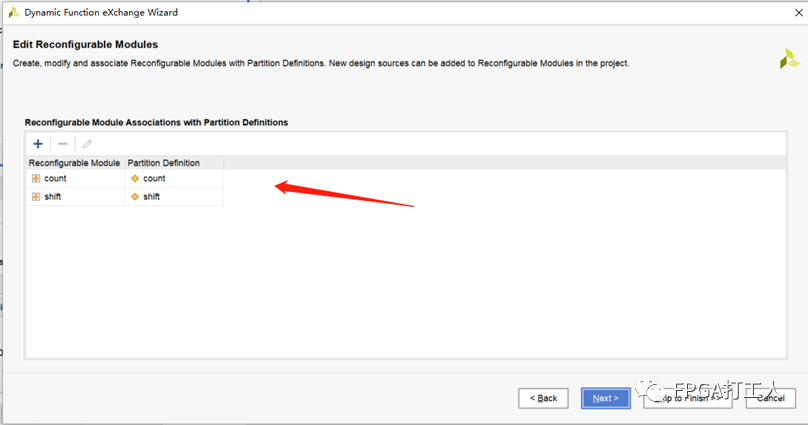
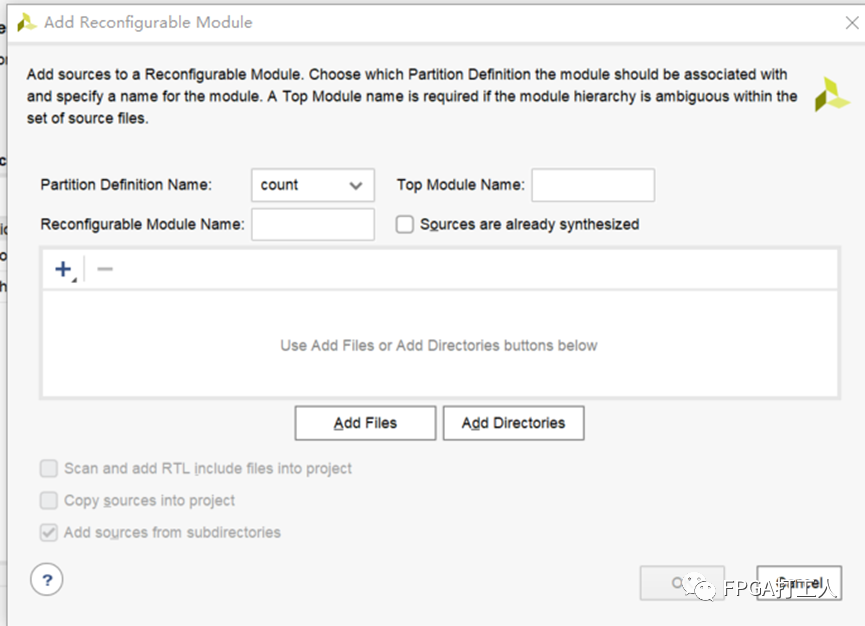
接下来这个步骤是可选项,这个步骤主要针对同一个PR下的不同功能。这里,点击+号按钮,会出现下面对话框,首先点击Add files,选择需要添加的其他功能对应的.v文件,然后输入Reconfigurable Module Name。
next后会进入编译配置界面,这个可以增加多个配置,如下图所示。目前我们只需一种配置,所以只留下config_1即可。

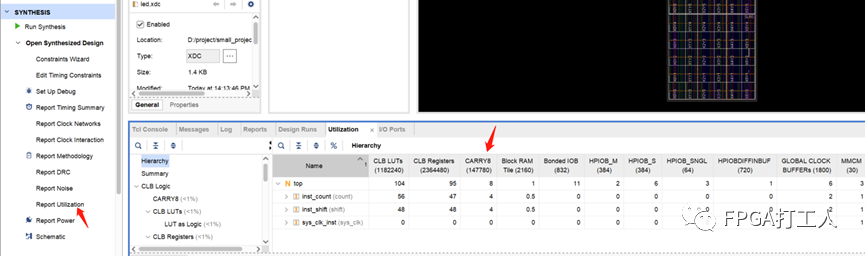
步骤4:综合完成后,点击Open Synthesized Design,此时,可先查看各个模块的资源使用率,方便后续画Pblock需要,具体点击左侧SYNTHESIS下的Report Utilization。
在vivado右上角,切换到Floorplanning视图。点击需要PR的module选择Draw Pblock。
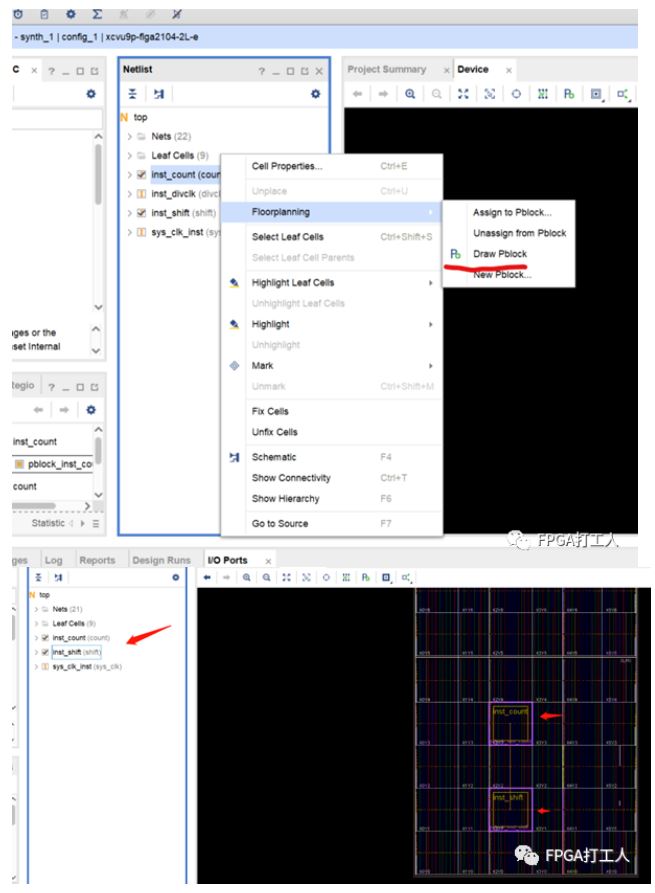
绘制Pblock的最简单的两个规则就是:
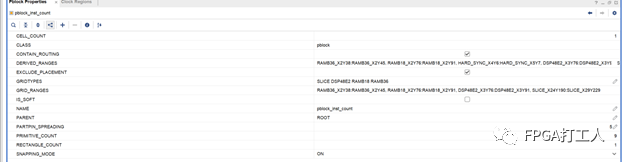
选中框之后,可以更改框的属性,将RESET_AFTER_RECONFIG的√选中,意思就是重新配置后,会复位这个Pblock里面的内容,再讲SNAPPING_MODE改为On,意思是如果边界选的不好,Vivado会自动处理,选off的话,就是完全按照指定的边界。
点击Reports->Report DRC,只选择PR即可。
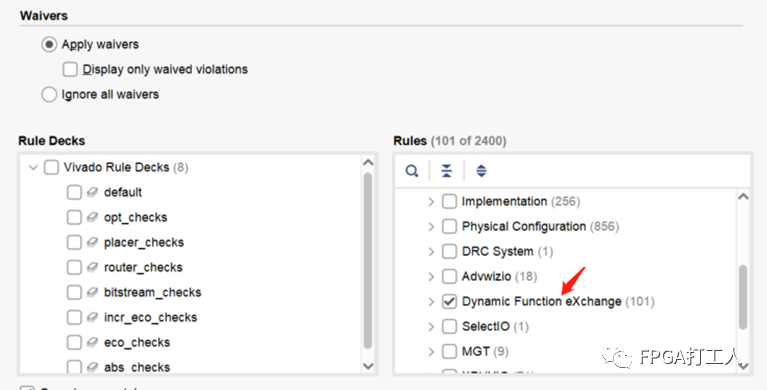
点击OK后,如果提示没有error,说明以上的操作没问题。
最后就按照正常流程生成bit即可。会有3个bit:
AS环境的搭建
在DFX的基本流程的基础上检查不同的DCP文件及大小(本节都是在DFX的基本流程的基础上进行):

top_routed.dcp:整个routed设计的dcp,包括每个RM per RP
top_routed_bb.dcp:静态的,只有锁定的placement和routing以及每个RP的blackboxes
inst_count_count_routed.dcp:routedmodule-level checkpoint for the count RM instance
inst_shift_shift_routed.dcp:routedmodule-level checkpoint for the shift RM instance
步骤1:为count和shift实例创建Abstract Shell。运行以下命令:
write_abstract_shell -cell -force -cell u_count ./abstract_shell/ab_sh_count.dcp
write_abstract_shell -cell -force -cell u_shift ./abstract_shell/ab_sh_shift.dcp
每次调用write_abstract_shell命令首先会创建完整DCP的副本,然后自动执行以下步骤:
分割出目标可重构区域(使用update_design -black_box)
锁定剩余的design(包括其他的可重构区域)
writes the Abstract Shell for the target RP
Runs pr_verify for this checkpointcompared to the orginal fully routed design

ab_sh_count.dcp: Abstract Shell for the CountRP
ab_sh_shift.dcp: Abstract Shell for the ShiftRP
步骤2:接下来这个步骤为可选,是为了检查dcp文件的
open_checkpoint ./abstract_shell/ab_sh_count.dcp
打开新生成的dcp文件。
接下来可以运行以下命令是否有error,没有关闭即可
report_route_status
AS的具体执行
前两个环节是一次性的,也就是后续静态部分的代码若不修改,前面环节就不会再执行。在此环节中,我们更改两个PR的对应代码。

更改后只执行Run Synthesis。综合结束后,将partial dcp文件copy出来,并打开一个新的vivado环境。

步骤1:加载AS的环境搭建得到的dcp文件,先以count的为例:
add_files ./abstract_shell/ab_sh_count.dcp

步骤2:加载count综合后对应的dcp文件,并设置属性。
add_files ./partial_dcp/count.dcp
set_property SCOPED_TO_CELLS {inst_count} [get_files ./partial_dcp/count.dcp]

步骤3:进行link design设置
link_design -mode default -reconfig_partitions {inst_count} -part xcvu9p-flga2104-2L-e -top top

步骤4:执行正常的实现操作
opt_design
place_design
route_design
最后生成bit即可
write_bitstream -force -cell inst_count ./bit/count_partial.bit
shift对应的部分bit生成和count一样。