声明:本文是学习赛灵思 Zynq UltraScale+ MPSoC 5EV过程中写的笔记,便于以后复习,参考《 ug1144-petalinux-tools-reference-guide》、黑金Zynq UltraScale+ MPSoC 5EV开发板资料。
1、新建项目工程目录
mkdir linux_test
2、运行 vitis
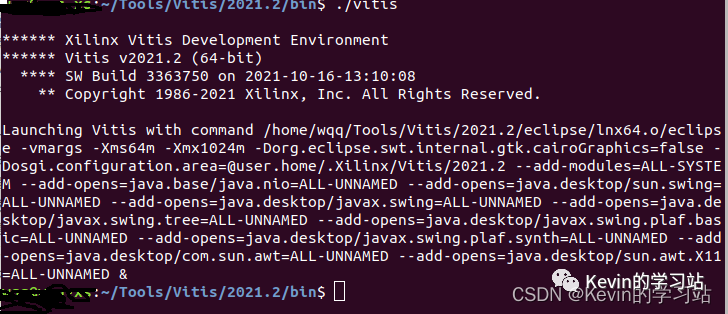
// 1、进入vitis bin 文件夹下
cd /Tools/Vitis/2021.2/bin
// 2、运行 vitis
./vitis
![](https://cdn.eetrend.com/files/2023-10/%E5%8D%9A%E5%AE%A2/100575335-322033-1.png)
3、选择工作空间,点击 launch
![](https://cdn.eetrend.com/files/2023-10/%E5%8D%9A%E5%AE%A2/100575335-322034-2.png)
4、点击关闭 welcome
![](https://cdn.eetrend.com/files/2023-10/%E5%8D%9A%E5%AE%A2/100575335-322035-3.png)
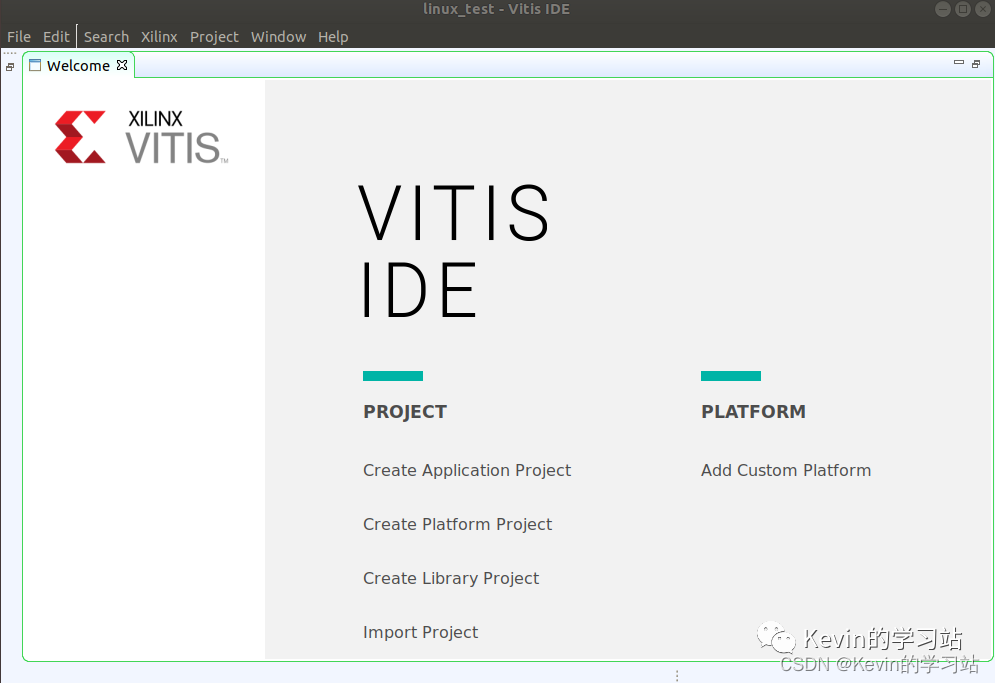
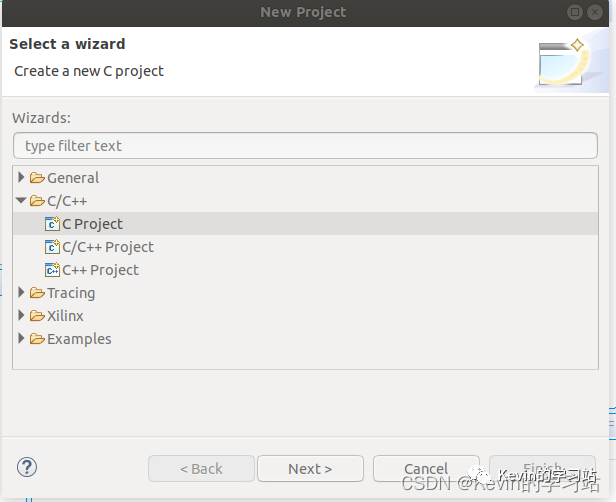
5、在空白处右击 New -> Project;然后选择 C Project ,点击 next
![](https://cdn.eetrend.com/files/2023-10/%E5%8D%9A%E5%AE%A2/100575335-322036-4.png)
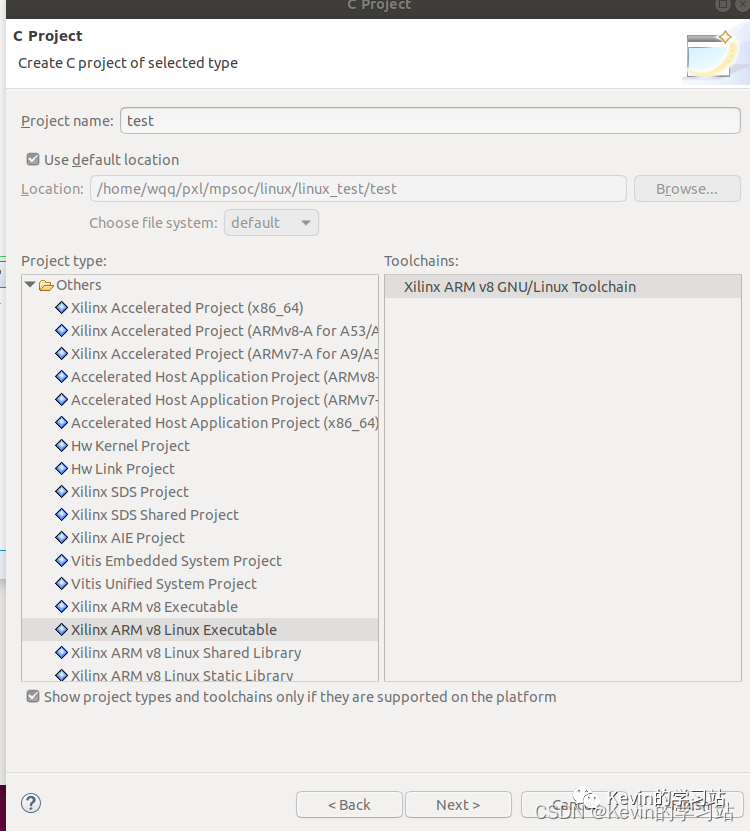
工程名为 test ,工程类型选择 others 文件夹下的 Xilinx ARM v8 Linux Executable ,然后点击 Finish
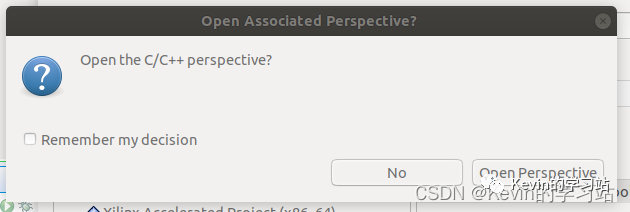
![](https://cdn.eetrend.com/files/2023-10/%E5%8D%9A%E5%AE%A2/100575335-322037-5.png)
弹出如下的提示,点 No
![](https://cdn.eetrend.com/files/2023-10/%E5%8D%9A%E5%AE%A2/100575335-322038-6.png)
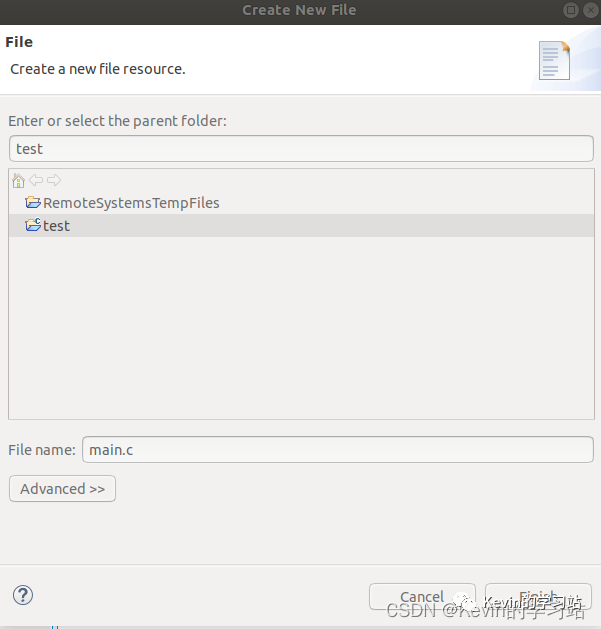
7、在 test 工程下右键点击 new -> file ,文件名为 :main.c
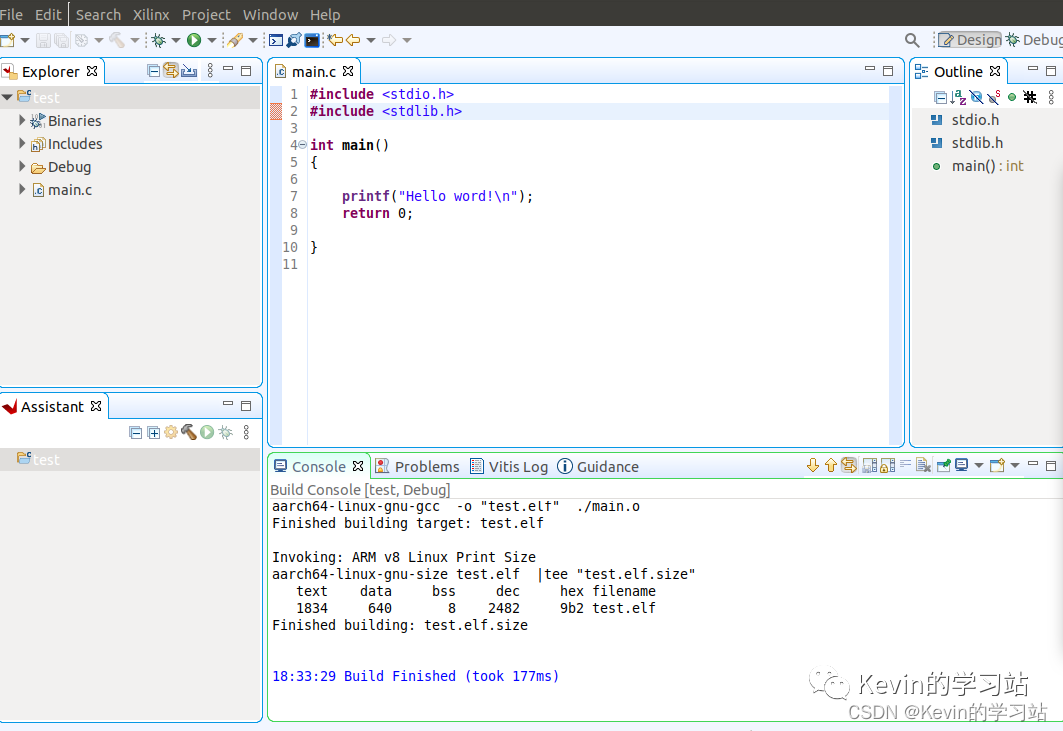
![](https://cdn.eetrend.com/files/2023-10/%E5%8D%9A%E5%AE%A2/100575335-322039-7.png)
编写如下代码:
#include
#include
int main()
{
printf("hello world!\n");
return 0;
}
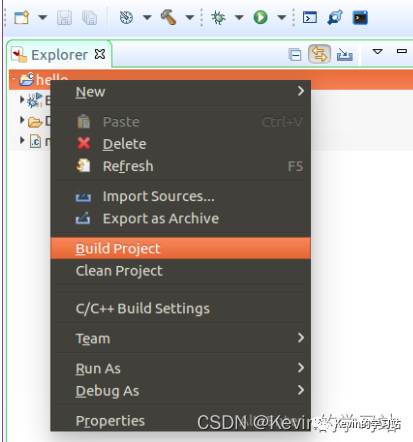
在工程下右键点击 Build Project 编译工程。
![](https://cdn.eetrend.com/files/2023-10/%E5%8D%9A%E5%AE%A2/100575335-322040-8.png)
![](https://cdn.eetrend.com/files/2023-10/%E5%8D%9A%E5%AE%A2/100575335-322041-9.png)
本文是学习赛灵思 Zynq UltraScale+ MPSoC 5EV过程中写的笔记,便于以后复习,参考《 ug1144-petalinux-tools-reference-guide》、黑金Zynq UltraScale+ MPSoC 5EV开发板资料。
本文转载自:Kevin的学习站