作者:falwat
版权声明:本文为博主原创文章,遵循 CC 4.0 BY-SA 版权协议,转载请附上原文出处链接和本声明。
本文链接:https://blog.csdn.net/falwat/article/details/85912986
本文主要介绍如何使用Vivado 开发套件创建硬件工程。
新建硬件工程
选择菜单: File|New Project, 开始创建新工程. 点击 "Next" 按钮.

输入工程名和工程路径名, 然后点击 "Next". 建议路径名不要包含中文, 作一名合格程序员, 不用中文路径是基本素养, 因为很多开发工具不支持, 我也从来没有尝试过-_-||.

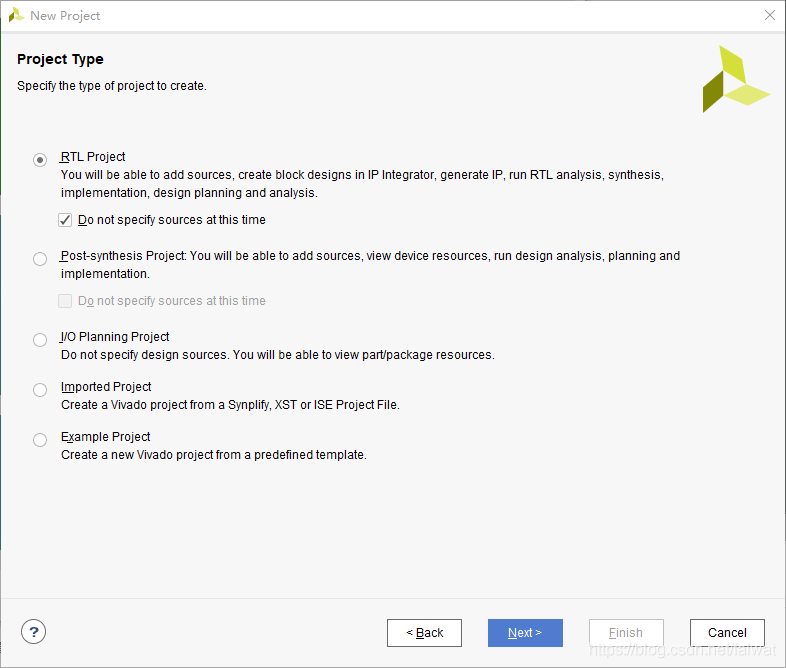
勾选不指定源文件, 点击 "Next".
选择"Boards", 在搜索框中输入板卡名以快速定位, 选中要使用的板卡后点击"Next". 本教程使用的板卡是KCU105, 其他板卡操作类似.

点击"Finish" 完成工程创建.